Living Room Lighting
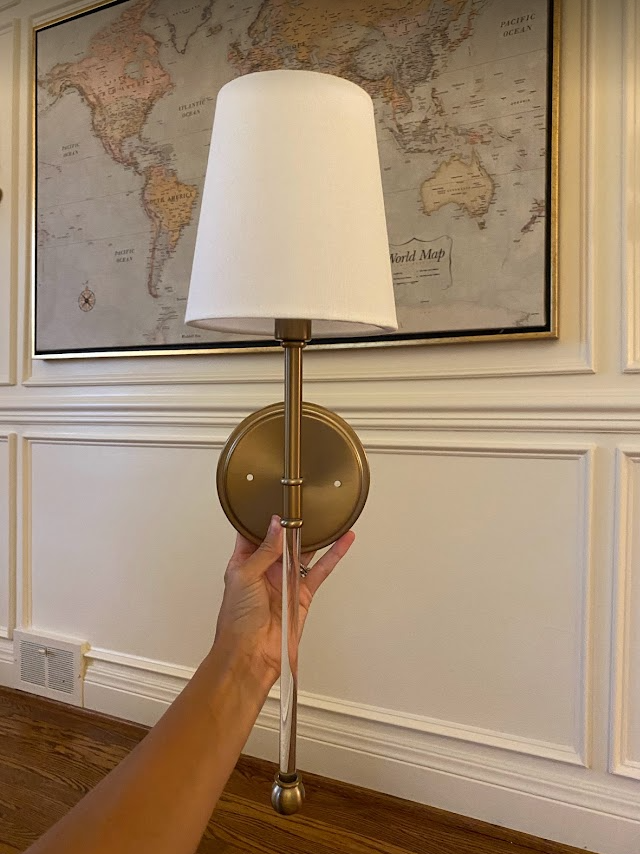
I have always thought our living room was too dark, but I didn’t have room for more lamps and I didn’t want to have to wire new lighting. So, I decided to try adding sconces without hardwiring. I tried many different sources of light along with different sconces so you don’t have to!!! Check out the items you will need and a step by step below.
For this project you will need...
- Sconces – get my designer look for less
- Puck lights with remote & command strips included
- Command strips if your lights do not come with them
- AA Batteries if your lights do not come with them
For install:
Lets get started!!
STEP 1
- Make sure you tuck all of the wiring from the sconce behind the round plate on the back since this DIY does not involve hard wiring. You could try to remove the wiring rather than tucking it behind, but I wanted to keep everything as is in case I hardwire in the future. Then, you will adhere the sconce to the wall with the screws provided. A drill will be needed for this step.
STEP 2
- Once the sconce is fixed to the wall, you will need to prepare the remaining items needed for this project- AA Batteries, command strips and puck lights. Be sure to add the batteries to your puck lights.
STEP 3
- Once your puck lights have the batteries in and the lights are working, adhere a command strip to the edge of the puck light. Please see the videos below for reference. Please note, I did not adhere the command strip to the back of the puck light because it was only giving light on the top half of the sconce not lighting the full shade how a real light would.
STEP 4
- If the shade is on your installed sconce, please take it off this next step easier. You will adhere the puck light with the command strip on the edge to the opening where a normal light bulb would go in the shade. Please see videos below for a visual. You can then place the shade with the puck light attached, back on the sconce.
STEP 5
- Finally, use the remote that was included with the puck lights to turn your beautiful new lights on and off!!
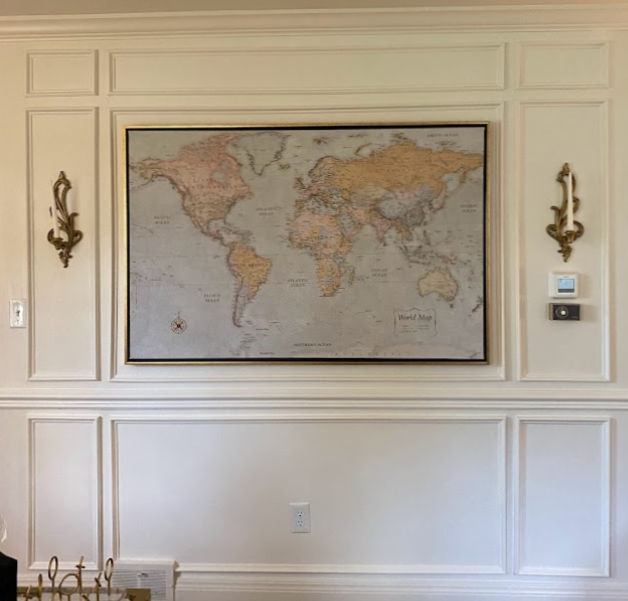
BEFORE

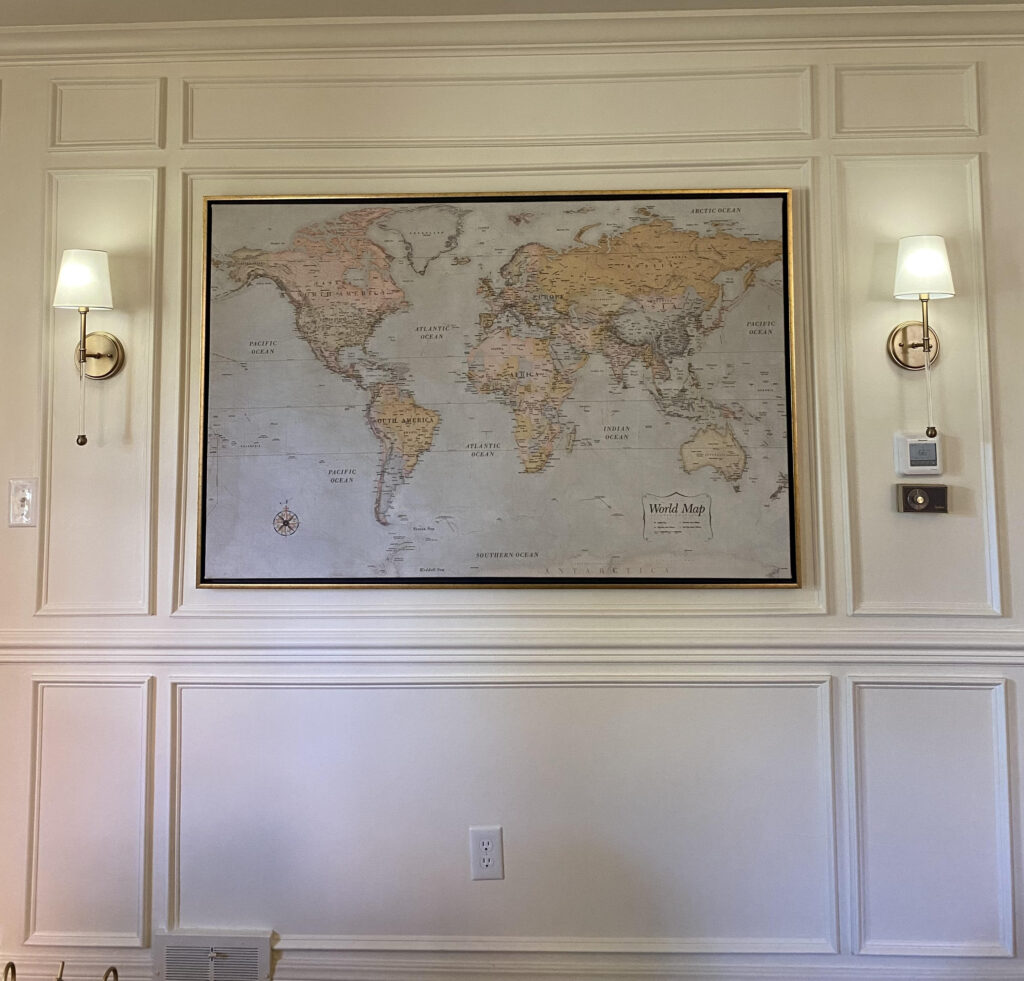
AFTER

Let me know what you think of this sconce project + share your own DIY if you tackle this project!!

I wanted to thank you for this great read!! I definitely enjoying every little bit of it I have you bookmarked to check out new stuff you post…
Sweet site, super pattern, very clean and employ genial.
I consider something really special in this website .
You got a very fantastic website, Sword lily I detected it through yahoo.
Japan is definitely on my bucket list! The mix of tradition and modernity is fascinating, and the food alone is enough reason to visit.
Watching a sunset over the ocean is one of the most peaceful experiences in life. Nature has a way of reminding us how small but connected we all are.
Japan is definitely on my bucket list! The mix of tradition and modernity is fascinating, and the food alone is enough reason to visit.
Nothing beats homemade pasta. The texture and flavor are just on another level compared to store-bought versions. Cooking from scratch is truly an art.
The essence of existence is like smoke, always shifting, always changing, yet somehow always present. It moves with the wind of thought, expanding and contracting, never quite settling but never truly disappearing. Perhaps to exist is simply to flow, to let oneself be carried by the great current of being without resistance.
The potential within all things is a mystery that fascinates me endlessly. A tiny seed already contains within it the entire blueprint of a towering tree, waiting for the right moment to emerge. Does the seed know what it will become? Do we? Or are we all simply waiting for the right conditions to awaken into what we have always been destined to be?
All knowledge, it is said, comes from experience, but does that not mean that the more we experience, the wiser we become? If wisdom is the understanding of life, then should we not chase every experience we can, taste every flavor, walk every path, and embrace every feeling? Perhaps the greatest tragedy is to live cautiously, never fully opening oneself to the richness of being.
The essence of existence is like smoke, always shifting, always changing, yet somehow always present. It moves with the wind of thought, expanding and contracting, never quite settling but never truly disappearing. Perhaps to exist is simply to flow, to let oneself be carried by the great current of being without resistance.
If everything in this universe has a cause, then surely the cause of my hunger must be the divine order of things aligning to guide me toward the ultimate pleasure of a well-timed meal. Could it be that desire itself is a cosmic signal, a way for nature to communicate with us, pushing us toward the fulfillment of our potential? Perhaps the true philosopher is not the one who ignores his desires, but the one who understands their deeper meaning.
The cosmos is said to be an ordered place, ruled by laws and principles, yet within that order exists chaos, unpredictability, and the unexpected. Perhaps true balance is not about eliminating chaos but embracing it, learning to see the beauty in disorder, the harmony within the unpredictable. Maybe to truly understand the universe, we must stop trying to control it and simply become one with its rhythm.
Man is said to seek happiness above all else, but what if true happiness comes only when we stop searching for it? It is like trying to catch the wind with our hands—the harder we try, the more it slips through our fingers. Perhaps happiness is not a destination but a state of allowing, of surrendering to the present and realizing that we already have everything we need.
The essence of existence is like smoke, always shifting, always changing, yet somehow always present. It moves with the wind of thought, expanding and contracting, never quite settling but never truly disappearing. Perhaps to exist is simply to flow, to let oneself be carried by the great current of being without resistance.